
Nested forms in Phoenix LiveView: advanced tips and tricks

In Phoenix LiveView, there’s a standard way to create nested forms - forms that let you edit multiple associated records at once.
The docs give the overview: <.inputs_for> renders nested inputs on your form, then you handle changes on the backend using Ecto functions like cast_assoc/3.
In the Coox app from my course Mastering Phoenix Forms we use this to build a form for editing a recipe. Recipes have nested ingredients and instructions, and you can add, remove and sort instructions using Ecto’s :sort_param and :drop_param.
This follows the standard implementation described in the docs, with further inspiration (such as sorting with Sortable.js) taken from Chris McCord’s Live Beats example app.
It works well enough, but if you want to build something more complicated than a standard set of nested inputs with an “add” and “remove” button, I couldn’t find many good examples online. So in this post we’ll explore some slightly more advanced tricks with Phoenix LiveView nested forms.
The starter app
We’ll edit the RecipeLive.Form LiveView - see GitHub for the source code. It’s a LiveView that edits and updates a %Recipe{} schema.
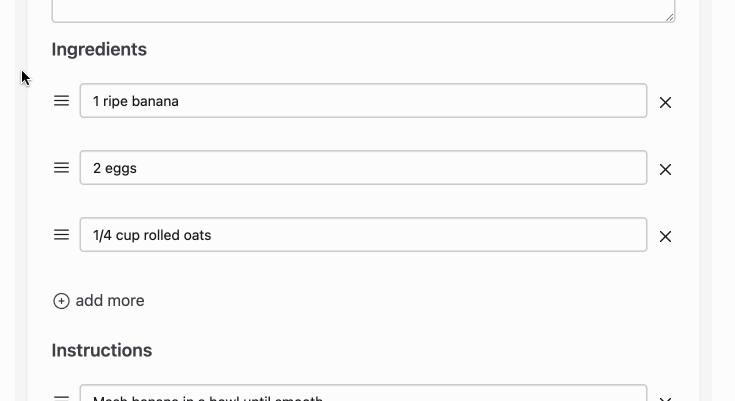
A recipe has_many :ingredients and embeds_many :instructions. The LiveView implementation for each is almost identical, so for the purposes of this article we’ll only look at :ingredients.
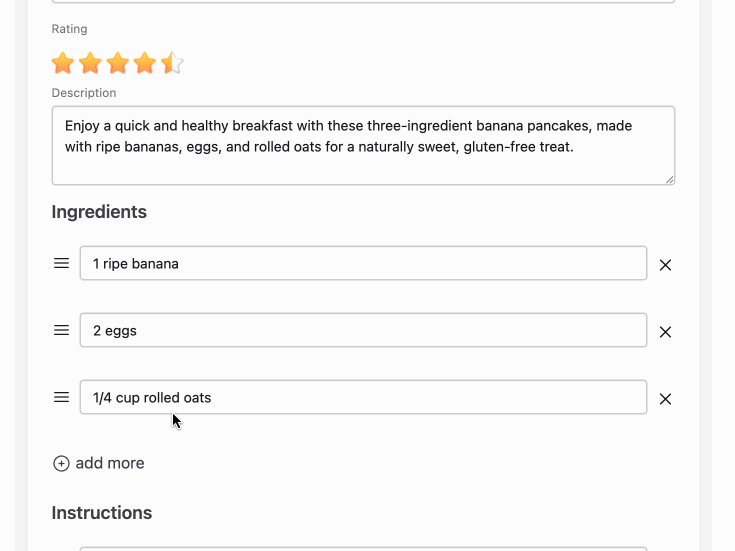
In the render/1 function, we render nested ingredient inputs using <.inputs_for />:
 <div class="mb-6">
   <h2 class="text-lg font-semibold text-zinc-700">Ingredients</h2>

   <div id="ingredient-inputs" phx-hook="SortableInputsFor">
     <.inputs_for :let={ingredient_f} field={@form[:ingredients]}>
       <div class="flex items-center mt-4 mb-2 space-x-2">
         <.icon name="hero-bars-3" class="cursor-pointer relative w-5 h-5 mr-2 -top-1" />
         <div class="grow">
           <input type="hidden" name="recipe[ingredients_sort][]" value={ingredient_f.index} />
           <.input field={ingredient_f[:name]} type="text" phx-debounce />
         </div>

         <button
           type="button"
           name="recipe[ingredients_drop][]"
           value={ingredient_f.index}
           phx-click={JS.dispatch("change")}
           class="relative -top-1"
         >
           <.icon name="hero-x-mark" class="w-5 h-5" />
         </button>
       </div>
     </.inputs_for>
   </div>

   <input type="hidden" name="recipe[ingredients_drop][]" />

   <button
     class="mt-4 text-zinc-700"
     name="recipe[ingredients_sort][]"
     phx-click={JS.dispatch("change")}
     type="button"
     value="new"
   >
     <.icon name="hero-plus-circle" class="h-5 w-5 relative top-[-1px]" /> add more
   </button>
 </div>
When validating or submitting the form, ingredients are updated using cast_assoc/3 with a :sort_param and :drop_param:
 defmodule Coox.Recipes.Recipe do
   …

   @doc false
   def changeset(recipe, attrs) do
     recipe
     # …
     |> cast_assoc(:ingredients,
       with: &Ingredient.changeset/3,
       sort_param: :ingredients_sort,
       drop_param: :ingredients_drop
     )
   end
 end
For a full explanation of how everything works, see Mastering Phoenix Forms. For now, let’s make the form more interesting.
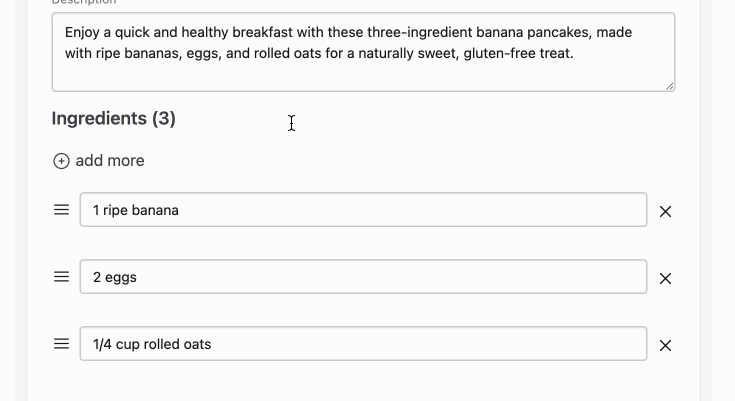
Showing a count of nested items
Suppose we want to render extra information that’s calculated from the current form state - for example, the number of ingredients. In theory you could extract this information from @form[:ingredients], but in practice - as the docs explain - this is fragile, with lots of annoying edge cases.
It’s much easier to store the ingredient count in a separate assign. First we calculate the initial values on mount:
 # lib/coox_web/live/recipe_live/form.ex
 defmodule CooxWeb.RecipeLive.Form do
   …

   def mount(params, _session, socket) do
     {:ok,
      socket
      |> allow_upload(:image,
        accept: ~w(.png .jpg),
        max_entries: 1,
        max_file_size: 2 * 1024 * 1024
      )
      |> apply_action(socket.assigns.live_action, params)}
   end

   defp apply_action(socket, :edit, %{"id" => id}) do
     recipe = Recipes.get_recipe!(socket.assigns.current_scope, id)

     socket
     |> assign(:page_title, "Edit Recipe")
     |> assign(:recipe, recipe)
+    |> assign(:ingredient_count, length(recipe.ingredients))
     |> assign(:form, to_form(Recipes.change_recipe(recipe)))
   end

   defp apply_action(socket, :new, _params) do
     recipe = %Recipe{}

     socket
     |> assign(:page_title, "New Recipe")
     |> assign(:recipe, recipe)
+    |> assign(:ingredient_count, 0)
     |> assign(:form, to_form(Recipes.change_recipe(recipe)))
   end

   …
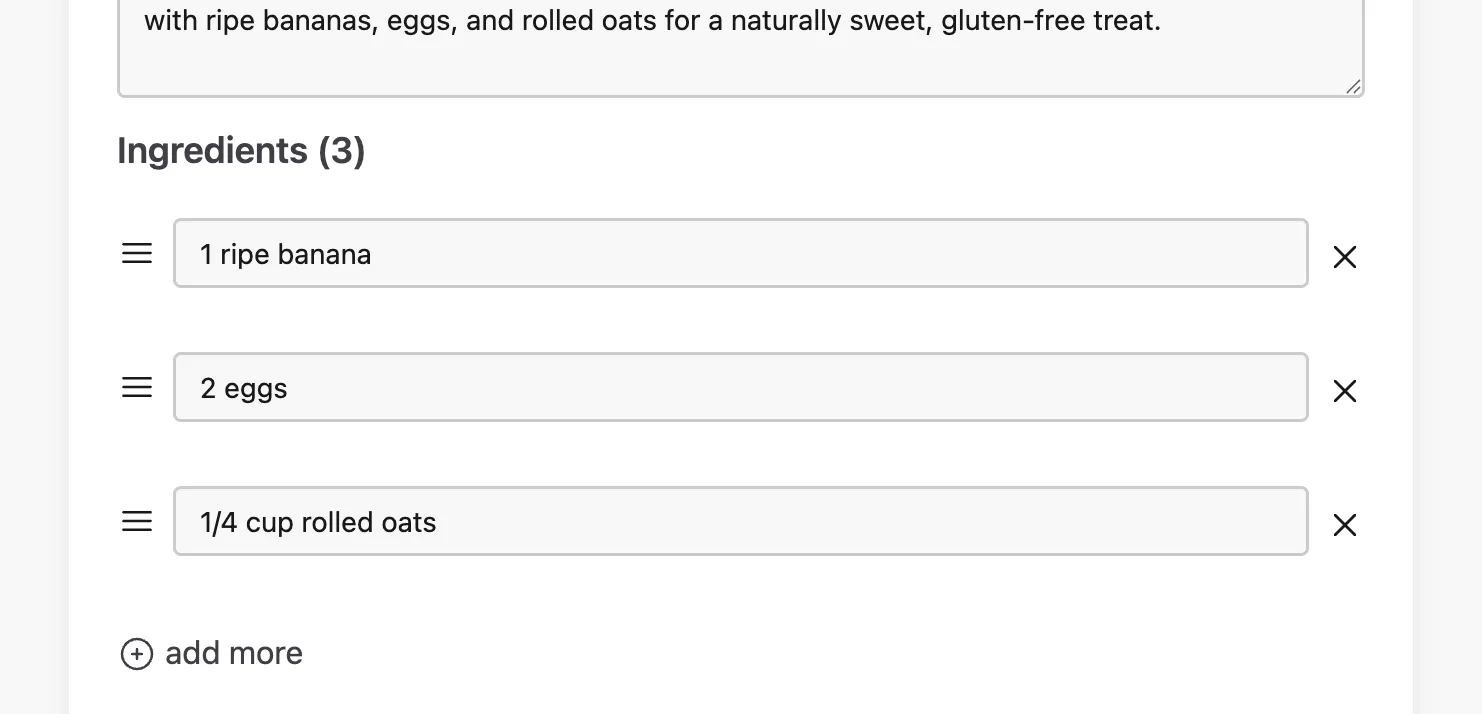
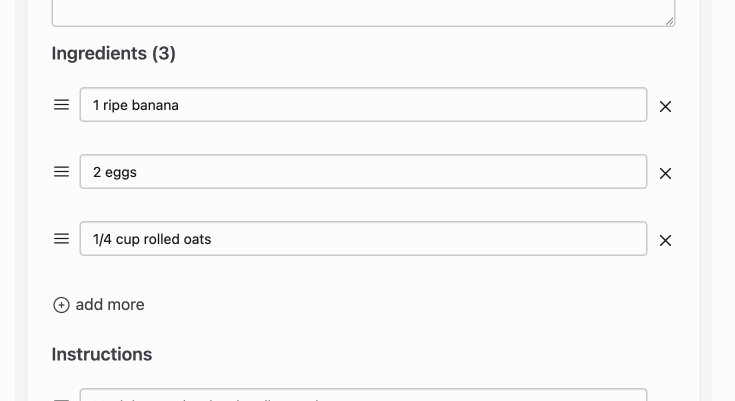
Then we render this assign in the HEEx:
-          <h2 class="text-lg font-semibold text-zinc-700">Ingredients</h2>
+          <h2 class="text-lg font-semibold text-zinc-700">
+            Ingredients
+            ({@ingredient_count})
+          </h2>
Now we just need to update the assign when the user adds or removes an ingredient. We can calculate this from the changeset in the "validate" event:
   def handle_event("validate", %{"recipe" => recipe_params}, socket) do
     changeset = Recipes.change_recipe(socket.assigns.recipe, recipe_params)
-    {:noreply, assign(socket, form: to_form(changeset, action: :validate))}
+    ingredient_count = changeset |> Ecto.Changeset.get_field(:ingredients) |> length
+
+    {:noreply,
+     socket
+     |> assign(form: to_form(changeset, action: :validate))
+     |> assign(ingredient_count: ingredient_count)}
   end
This is a simple example of a general principle: don’t try to use @form for anything that’s not directly related to rendering the <form> itself and its <input>s. To render additional information, it’s usually much easier to calculate the value from the changeset (not the %Form{}) and store it in a separate assign.
Moving the “add more” button
Suppose the existing ingredients have IDs 1, 2, and 3. Then when you trigger phx-change, the handler receives an ingredients_sort param with value ["1", "2", "3"].
To add a new ingredient, we have a button that triggers phx-change with an additional item in ingredients_sort:
 <button
   class="mt-4 text-zinc-700"
   name="recipe[ingredients_sort][]"
   phx-click={JS.dispatch("change")}
   type="button"
   value="new"
 >
   <.icon name="hero-plus-circle" class="h-5 w-5 relative top-[-1px]" /> add more
 </button>
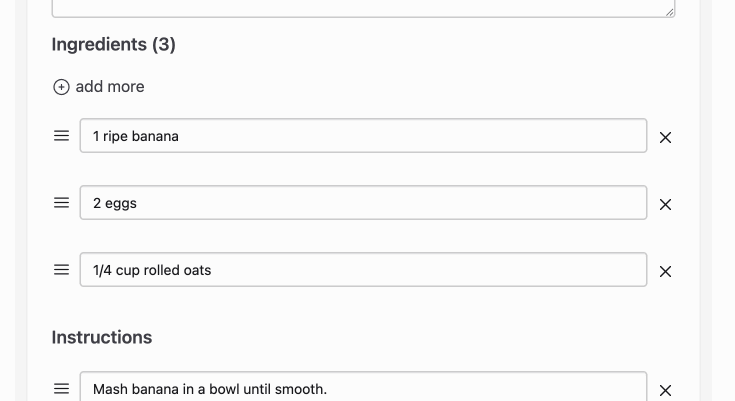
When you click this, the submitted value of recipe[ingredients_sort] is ["1", "2", "3", "new"]. (The specific value of the new element doesn’t matter, just as long as it doesn’t match any existing ingredient IDs.) Ecto sees the unrecognised value "new" and inserts a new nested changeset, which becomes a new set of nested inputs:
This is the standard way to add a new nested item with <.inputs_for>. But it only works like this if you place the “add more” button after the list of ingredient inputs. What if we move it above the ingredients?
         <div class="mb-6">
           <h2 class="text-lg font-semibold text-zinc-700">
             Ingredients
             ({@ingredient_count})
           </h2>

+          <button
+            class="mt-4 text-zinc-700"
+            name="recipe[ingredients_sort][]"
+            phx-click={JS.dispatch("change")}
+            type="button"
+            value="new"
+          >
+            <.icon name="hero-plus-circle" class="h-5 w-5 relative top-[-1px]" /> add more
+          </button>
+
           <div id="ingredient-inputs" phx-hook="SortableInputsFor">
             <.inputs_for :let={ingredient_f} field={@form[:ingredients]}>
               …
             </.inputs_for>
           </div>

           <input type="hidden" name="recipe[ingredients_drop][]" />
-
-          <button
-            class="mt-4 text-zinc-700"
-            name="recipe[ingredients_sort][]"
-            phx-click={JS.dispatch("change")}
-            type="button"
-            value="new"
-          >
-            <.icon name="hero-plus-circle" class="h-5 w-5 relative top-[-1px]" /> add more
-          </button>
         </div>
Now clicking the button adds new ingredients to the top of the list, not the bottom:
This is because ingredients_sort params are submitted in the order they appear in the HTML: the new value is ["new", "1", "2", "3"]. Ecto.Changeset maintains the order it’s given, inserting the new changeset at the beginning of the list.
We might not always want this. It’s easy to imagine a scenario where we don’t want the “add more” button in the same place, relatively speaking, as the inputs that will appear.
But we can decouple them with a trick: the <button> that you click doesn’t have to be the same element that receives the change event. We can keep a hidden button in the same place as the original button we removed:
           <button
             class="mt-4 text-zinc-700"
             name="recipe[ingredients_sort][]"
             phx-click={JS.dispatch("change")}
             type="button"
             value="new"
           >
             <.icon name="hero-plus-circle" class="h-5 w-5 relative top-[-1px]" /> add more
           </button>

           <div id="ingredient-inputs" phx-hook="SortableInputsFor">
             <.inputs_for :let={ingredient_f} field={@form[:ingredients]}>
               …
             </.inputs_for>
           </div>
+
+          <button
+            class="hidden"
+            name="recipe[ingredients_sort][]"
+            id="add-more-ingredients"
+            value="new"
+          />
Now the visible <button> can dispatch the change event to the hidden button, rather than to itself. We also remove this button’s name and value as they don’t achieve anything anymore:
           <button
             class="mt-4 text-zinc-700"
-            name="recipe[ingredients_sort][]"
-            phx-click={JS.dispatch("change")}
+            phx-click={JS.dispatch("change", to: "#add-more-ingredients")}
             type="button"
-            value="new"
           >
             <.icon name="hero-plus-circle" class="h-5 w-5 relative top-[-1px]" /> add more
           </button>
Here’s what that looks like without the diff:
           <button
             class="mt-4 text-zinc-700"
             phx-click={JS.dispatch("change", to: "#add-more-ingredients")}
             type="button"
           >
             <.icon name="hero-plus-circle" class="h-5 w-5 relative top-[-1px]" /> add more
           </button>
(JS.dispatch, by default, dispatches the event to the same DOM element that it’s attached to. Above, we override this by explicitly passing a target with :to.)
Now ingredients are inserted at the bottom again:
Note that the hidden element needs to be a <button>, rather than (say) a hidden <input>. A hidden input would have its value submitted every time anything on the form changes, inserting a new ingredient every time, which obviously isn’t what we want! A <button>, on the other hand, doesn’t submit any value unless we explicitly trigger it with change.
Custom events using “_target”
The phx-change and phx-submit handlers receive two parameters:
- the form’s current state - i.e. the current set of values filled in its inputs.
-
a
"_target"param, which tells you exactly which input or button was clicked/changed.
So if we need to do something with the form’s filled-in state, and we don’t want to write custom Javascript, we need to use phx-change or phx-submit. Other events don’t receive the form’s state as a parameter.
Sometime, however, we want to do something with the current form state that isn’t the standard validation or submission. We can achieve this by triggering phx-change from a <button> then pattern-matching on the "_target".
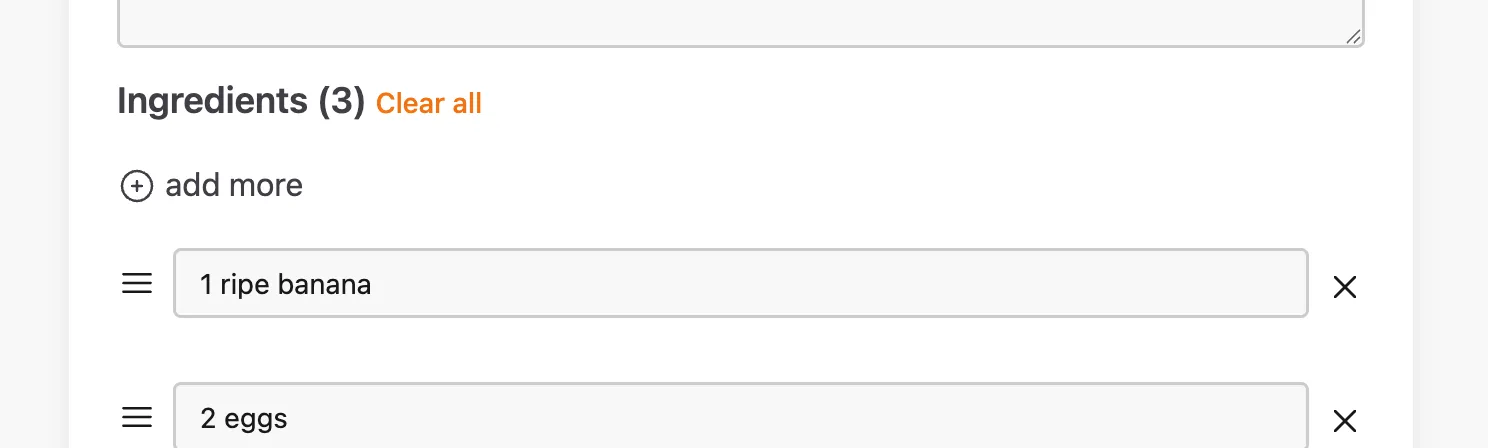
For example, let’s add a “clear all” button (styled like a link) that removes all ingredients from the form:
           <h2 class="text-lg font-semibold text-zinc-700">
             Ingredients
             ({@ingredient_count})
+            <button
+              type="button"
+              name="clear_all_ingredients"
+              phx-click={JS.dispatch("change")}
+              class="text-sm hover:underline font-medium text-orange-500"
+            >
+              Clear all
+            </button>
           </h2>
This follows the same basic idea as the “add more” button from above: the <button> dispatches a Javascript change event to itself, which bubbles up to the <form> and triggers the phx-change handler.
(Note that we also use type="button" on both buttons. This overrides the default type="submit" and prevents the button from submitting the form on click.)
The event’s "_target" is the name of the <button>, i.e. "clear_all_ingredients". By pattern-matching on the "_target", we can define a handle_event/3 clause that clears the ingredients:
+  def handle_event("validate", %{"_target" => ["clear_all_ingredients"], "recipe" => recipe_params} = params, socket) do
+    drop_param = Map.keys(params["recipe"]["ingredients"] || %{})
+
+    params =
+      params
+      |> put_in(["recipe", "ingredients_drop"], drop_param)
+      |> Map.delete("_target")
+
+    handle_event("validate", params, socket)
+  end
+
   def handle_event("validate", %{"recipe" => recipe_params}, socket) do
     changeset = Recipes.change_recipe(socket.assigns.recipe, recipe_params)
     ingredient_count = changeset |> Ecto.Changeset.get_field(:ingredients) |> length

     {:noreply,
      socket
      |> assign(form: to_form(changeset, action: :validate))
      |> assign(ingredient_count: ingredient_count)}
   end
(Note: it’s important that the new clause goes before the existing "validate" handler, otherwise it will never be called.)
This new clause receives the current form state (the recipe_params). To drop all ingredients, we override the submitted drop_param to include all current ingredient IDs:
drop_param = Map.keys(params["recipe"]["ingredients"] || %{})

params =
  params
  |> put_in(["recipe", "ingredients_drop"], drop_param)
  …
From here on we can use the original "validate" handler: the massaged ingredients_drop param will tell Ecto to remove all ingredients from the form. It’s exactly as if we clicked the “X” next to each ingredient on the form. Note that we also need to remove the _target param to avoid an infinite loop:
   …
   |> Map.delete("_target")

 handle_event("validate", params, socket)
It works:
These examples are all based on real problems I’ve had to solve for LiveView projects in production.
If you’ve encountered any difficulties of your own, I’d love to know about them: perhaps they could be the topic of my next blog post.
And for the full deep dive into this and all other aspects of forms in Phoenix and LiveView, make sure to check out Mastering Phoenix Forms 😉